Exhibit A: Building a Check-In Inventory That Survives Contact With the Tribunal
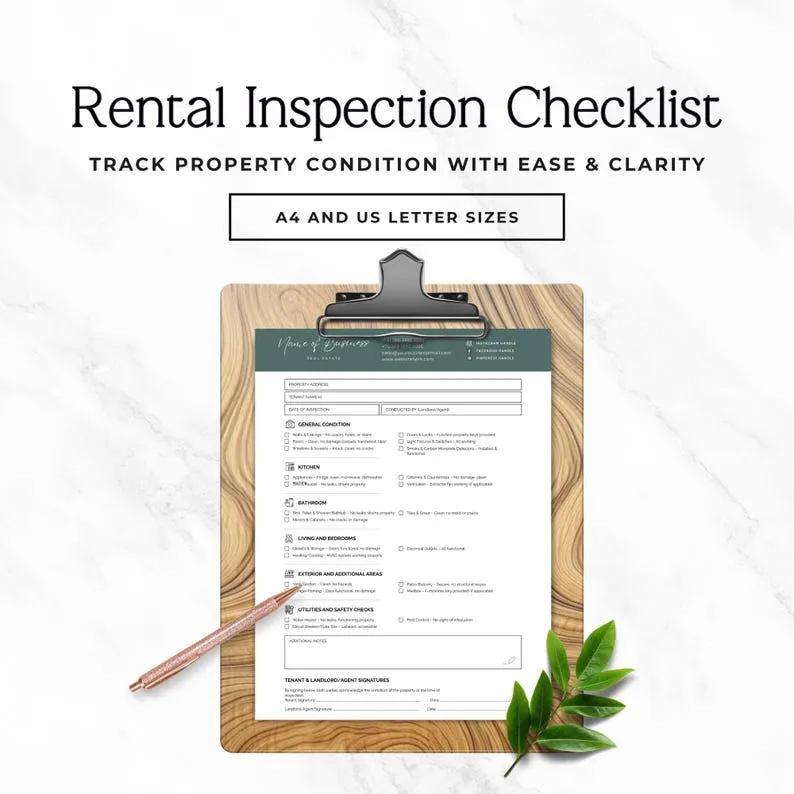
Photo: landlord conducting property inspection checklist clipboard empty flat, via i.etsystatic.com
When a deposit dispute reaches adjudication, the outcome is rarely decided by who is telling the truth. It is decided by whose paperwork is better. And the single document that determines more outcomes than any other is the check-in inventory — the one record created before the tenant so much as unpacked a suitcase.
Yet an alarming proportion of inventories submitted to tenancy deposit schemes are rejected, or given minimal weight, for reasons that were entirely avoidable at the point of drafting. Understanding why is the first step to producing a document that works as evidence rather than decoration.
Why Inventories Fail as Evidence
Adjudicators working under the Housing Grants Act scheme framework assess claims on the balance of probabilities, using only the evidence in front of them. An inventory fails when it cannot answer three questions: what condition was the item in at check-in, when was that condition recorded, and who agreed it?
The most common failures are depressingly familiar. Descriptions are vague — "carpet worn" tells an adjudicator nothing about whether the wear existed on day one or developed in month fourteen. Photographs are undated, low-resolution, or fail to show the item at all. Signatures are missing, or the tenant's amendments are ignored rather than acknowledged. Meter readings and key counts are omitted, leaving the landlord exposed to secondary disputes over utilities and access.
Each of these is a drafting error, not a legal one. Each is fixable before the tenancy begins.
The Photographic Standard
Treat every photograph as if it will be projected onto a screen at a tribunal hearing, because one day it may be.
- Timestamp everything. Enable date and time stamps, or rely on metadata — but never edit images after capture. An adjudicator who suspects manipulation will discount the entire set.
- Wide shot first, then detail. Establish the room, then close in on the specific feature: the scuffed door edge, the hairline crack above the window, the burnt hob ring.
- Include a reference point. A tape measure, a coin, or the frame itself gives scale to stains and damage.
- Cover the unglamorous. Skirting boards, behind doors, the inside of the oven, the underside of mattresses. Damage claims collapse when there is no check-in photo of the area in question.
- Video walkthrough. A continuous narrated video, recorded on the day, is powerful corroborating evidence — particularly where the tenant accompanies you or joins remotely.
The Written Record: Precision Over Prose
The written schedule should mirror the photographs. Adopt a consistent vocabulary: "clean", "fair", "worn", "damaged", each used deliberately. Record serial numbers for appliances, note the make and model of white goods, and log meter readings — electric, gas and water — with photographic backup of the dials.
Keys deserve their own line item. Record the number of keys per door, fobs and garage remotes included, and photograph the full set laid out together. At check-out, this single line item is often the difference between recovering a locksmith's invoice and absorbing it.
Securing the Tenant's Signature
An inventory signed only by the landlord is a statement. An inventory signed by both parties is an agreement. The distinction is everything.
Allow the tenant a reasonable period — seven to fourteen days is customary — to review the report and return it with comments. Where the tenant disagrees with an entry, do not delete your original notation; instead, record the disagreement in writing and photograph the item again jointly if possible. A signed document noting a documented disagreement is still strong evidence; an unsigned document noting nothing is worth very little.
Where a tenant refuses to engage, send the inventory by recorded delivery or email with delivery confirmation, note the attempt, and proceed. A landlord who can show reasonable steps were taken is in a far stronger position than one who simply filed the report away.
Common Drafting Mistakes
Three errors recur so often they deserve their own warning. First, generic templates reused across properties, containing descriptions of rooms that do not exist. Second, subjective judgements dressed as fact — "tenant will be liable for all damage" is an aspiration, not an observation. Third, the check-in and check-out reports produced by different people using different formats, making like-for-like comparison impossible. Use the same schedule, the same room order and the same photographic angles at both ends of the tenancy.
The Room-by-Room Checklist
Adapt the following for every property:
Entrance and hall: Front door condition, locks and spyhole, flooring, radiator, meter cupboard.
Living areas: Walls, ceiling, skirting, window and blinds, flooring, fireplace, radiators, sockets, TV aerial or satellite points.
Kitchen: All appliances with make, model and serial number; worktops; cupboard interiors; sink and taps; extractor; tiling; flooring.
Bathrooms: Sanitaryware condition, tiling and grouting, seals, extractor, water pressure noted at check-in.
Bedrooms: Walls, flooring, windows, built-in storage, door condition.
Throughout: Smoke and CO alarms tested and dated, heating system operation, loft access, external areas, garden furniture, bins, and any items included in the let.
Administration: Meter readings with photos, key schedule with photographs, alarm codes, and both signatures with dates.
A Document Worth the Hour It Takes
A rigorous check-in inventory takes ninety minutes to produce properly. Set against a deposit dispute that can run to thousands of pounds — and months of correspondence — it is among the highest-yield hours a landlord or agent will spend. Draft it as if an adjudicator will read it, because if the tenancy turns, they will.